Growing gourds at home, lots of fruit, growing gourds in sacks
Growing gourds at home has been an incredibly rewarding experience for me. From the moment I first planted the seeds in my garden, I eagerly awaited the sight of vibrant green shoots sprouting from the soil. As the weeks went by, my gourd plants flourished, producing an abundance of fruits that amazed me with their various shapes, colors, and sizes. One unique method I discovered for growing gourds is in sacks, which not only saves space but also adds a charming touch to my home garden. In this blog post, I will share my journey of cultivating gourds in sacks and the incredible results I achieved.
Growing Gourds at Home: Lots of Fruit, Growing Gourds in Sacks
Introduction
Hey there! It’s me, your friendly gardener, and today I want to share with you my secret to growing gourds at home. I’ve always had a passion for gardening and over the years, I’ve learned some incredible techniques to maximize my results. In this article, I will take you through the process of growing gourds, both in your backyard and in sacks. So, let’s get started!
Growing Gourds in Your Backyard
When it comes to growing gourds in your backyard, there are a few things you need to consider. Let me break it down for you:
-
Choosing the Right Variety: Gourds come in various shapes and sizes, and it’s important to choose the right variety that suits your needs. Whether you want large gourds for decorations or smaller ones for culinary purposes, make sure to do your research and pick the perfect variety.
-
Preparing the Soil: The soil plays a crucial role in the growth of your gourds. I mix my own soil using a combination of compost, peat moss, and perlite. This allows for proper drainage and provides the necessary nutrients for the plants’ growth. If you’d like to see how I mix my soil, I’ve shared a video on my YouTube channel. You can check it out at https://youtu.be/TZozsisfpmE.
-
Planting and Caring for Gourds: Once you’ve prepared your soil, it’s time to plant your gourd seeds. Make sure to follow the instructions on the seed packet for the best results. Gourds love warm weather, so ensure that you plant them after the last frost. Provide proper support for the climbing vines and water your plants regularly. Also, don’t forget to fertilize your plants every two weeks to keep them healthy and thriving.
-
Harvesting Gourds: The best part about growing gourds is harvesting them when they’re ready. The time to harvest gourds varies depending on the variety, but as a general rule, you can start harvesting them when the skin hardens and changes color. Simply cut the stem leaving a few inches attached and let them dry for a couple of weeks before using them for your desired purposes.
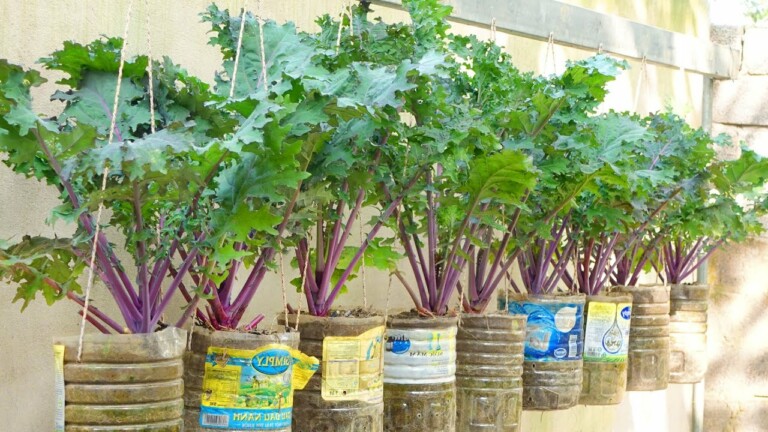
Growing Gourds in Sacks
If you have limited space in your backyard or want to try something different, growing gourds in sacks is a fantastic option. Here’s how you can do it:
-
Selecting the Right Sacks: For this method, you’ll need large sacks that can hold soil and allow for proper drainage. You can use burlap sacks, old potato sacks, or even reusable shopping bags. Just make sure they are sturdy and have drainage holes at the bottom.
-
Preparing the Soil: Similar to growing gourds in your backyard, mixing the right soil is crucial. Follow the same soil mixture that I mentioned earlier and fill the sacks up to about three-quarters full.
-
Planting Gourd Seeds: Make small holes in the soil about an inch or two deep. Place a few gourd seeds in each hole and cover them with soil. Water the sacks thoroughly and place them in an area where they can receive ample sunlight.
-
Caring for Gourd Sacks: Maintaining gourd sacks requires regular watering, especially during hot weather. Keep an eye on the soil moisture and ensure it’s not too dry or overly saturated. Additionally, provide support for the gourd vines to climb by attaching strings or trellises to nearby structures.
-
Harvesting Gourd Sacks: The process of harvesting gourds in sacks is just the same as in your backyard. Wait for the gourds to harden and change color, then cut the stems leaving a few inches attached. Allow them to dry before using them as you please.
Conclusion
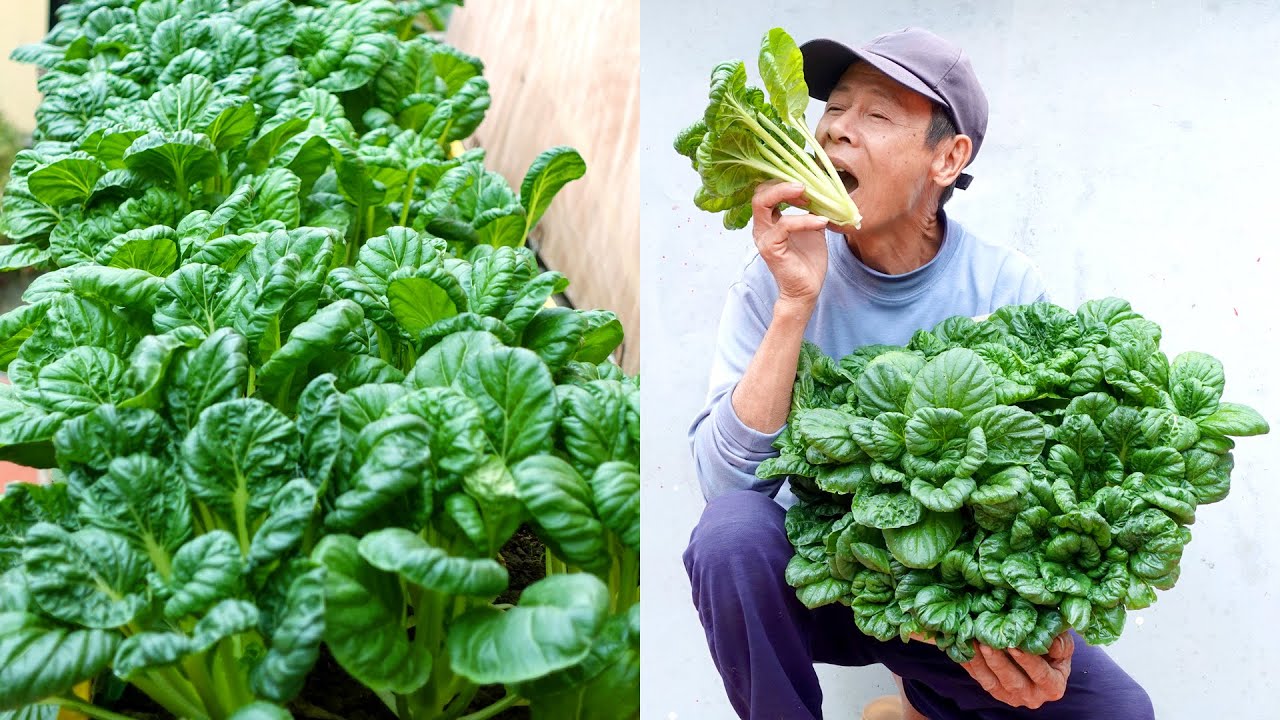
Growing gourds at home is a rewarding experience that allows you to enjoy an abundance of delicious fruits and stunning decorative pieces. Whether you choose to grow them in your backyard or in sacks, the process is simple and can be a wonderful addition to your gardening adventures. Don’t be afraid to experiment and find what works best for you!
Remember, learning and sharing are two pillars of success in the gardening world. If you found this article helpful, I would greatly appreciate it if you subscribed to my YouTube channel. You can do so by clicking this link: https://bit.ly/3Gnc9Zt. Thank you for watching and happy gardening!
FAQs After The Conclusion
-
Can I grow gourds in pots instead of sacks?
Yes, you can grow gourds in pots, as long as the pots are large enough to accommodate the growing vines. Make sure the pots have proper drainage holes and use the same soil mixture mentioned in the article. -
Do gourds require a lot of sunlight?
Yes, gourds require at least 6-8 hours of direct sunlight daily. Place them in a sunny spot in your backyard or position the sacks in an area that receives ample sunlight. -
When is the best time to plant gourd seeds?
Gourd seeds should be planted after the last frost when the soil has warmed up. This is usually in spring or early summer, depending on your location. -
How long does it take for gourds to mature?
The time it takes for gourds to mature varies depending on the variety. On average, gourds take around 80-120 days from planting to maturity. -
Can I eat the gourds grown in sacks?
Absolutely! Gourds grown in sacks are just as edible as those grown in the backyard. However, make sure to harvest them when they’re young and tender for the best taste and texture.