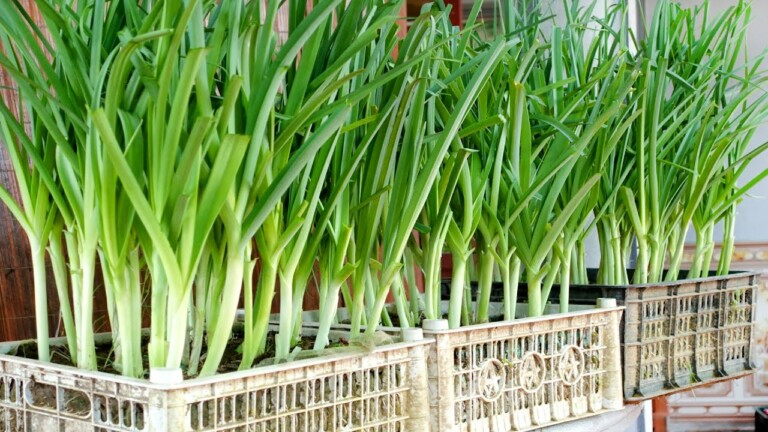
Easy Way To Grow Kangkong in Plastic Bottles at Home for Beginners
Are you a beginner looking for an easy way to grow kangkong at home? Look no further! In this blog post, we will guide you through the simple steps of growing kangkong in plastic bottles. Discover how you can successfully cultivate this versatile and nutritious vegetable right in your own backyard. Find out the benefits of this method and get ready to embark on your journey of homegrown kangkong!
Easy Way To Grow Kangkong in Plastic Bottles at Home for Beginners
Introduction
Are you an aspiring gardener with limited space? Do you want to grow your own vegetables but don’t have a backyard? Don’t worry, because you can easily grow kangkong, also known as water spinach, in plastic bottles at home! This article will guide you through the simple process of growing kangkong hydroponically, without the need for soil. So let’s get started on this exciting gardening adventure!
Materials Needed
To begin growing kangkong in plastic bottles, gather the following materials:
- Plastic bottles (preferably 2-liter size)
- Kangkong cuttings or seeds
- Water
- Small rocks or pebbles
- Scissors or a knife
Step-by-Step Guide
Here is a step-by-step guide on how you can grow kangkong in plastic bottles at home:
-
Prepare the plastic bottles: Start by cleaning the plastic bottles thoroughly. Remove any labels or stickers and rinse them with water and mild dish soap. Make sure there are no leftover residues that could potentially harm the plants.
-
Cut the bottles: Using a pair of scissors or a knife, cut off the top portion of the plastic bottles. This will create a container-like structure where the kangkong will grow.
-
Add small rocks or pebbles: Place a layer of small rocks or pebbles at the bottom of the plastic bottles. This will act as a drainage system, preventing water from accumulating and rotting the kangkong roots.
-
Prepare the kangkong cuttings: If you have kangkong cuttings, make sure they are around 8 to 10 inches long. Trim off any leaves from the lower portion of the cuttings, leaving only the top few leaves intact. This will promote root growth.
-
Insert the kangkong cuttings: Insert the kangkong cuttings into the plastic bottles, ensuring that the bottom portion is submerged in water and the top leaves are exposed to air. You can use a small rock or pebble to hold the cutting in place if necessary.
-
Add water: Fill the plastic bottles with water until the bottom portion of the kangkong cuttings is fully submerged. Make sure to change the water every few days to prevent stagnation and maintain optimal plant health.
-
Find a suitable spot: Place the plastic bottles in a location that receives ample sunlight. Kangkong thrives in full sun, so choose a spot near a sunny window or balcony.
-
Care and maintenance: Check the water level regularly and top up as needed. Ensure that the kangkong cuttings are always submerged in water. Over time, you will notice new roots emerging from the submerged portion and new leaves growing from the exposed portion.
-
Harvesting: After a few weeks, your kangkong plants will be ready for harvesting. Simply cut off the required amount of stalks for your meals, making sure to leave a few leaves intact for continued growth.
Conclusion
Growing kangkong in plastic bottles at home is not only a practical and space-saving option but also a rewarding hobby. By following the simple steps outlined in this article, you can enjoy fresh and organic kangkong right from your own kitchen. Remember to take care of your plants by providing adequate sunlight, changing the water regularly, and enjoying the process. Happy gardening!
FAQs (Frequently Asked Questions)
-
Q: Can kangkong grow without soil?
A: Yes, kangkong can grow in water without the need for soil. -
Q: Can I use kangkong seeds to grow kangkong plants?
A: Yes, kangkong seeds can also be used to grow kangkong plants. -
Q: Can spinach be grown in water too?
A: Yes, spinach can also be grown hydroponically in water. -
Q: Can morning glory be grown from seeds?
A: Yes, morning glory can be grown from seeds as well. -
Q: How long does it take for kangkong to be ready for harvest?
A: It usually takes a few weeks for kangkong to be ready for harvesting, depending on the growing conditions.