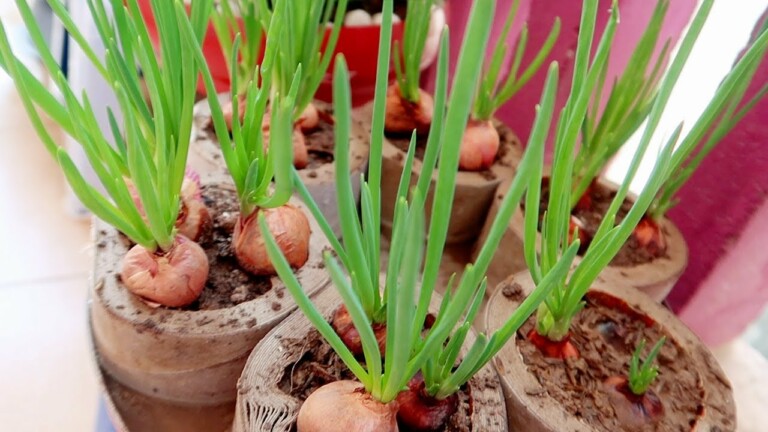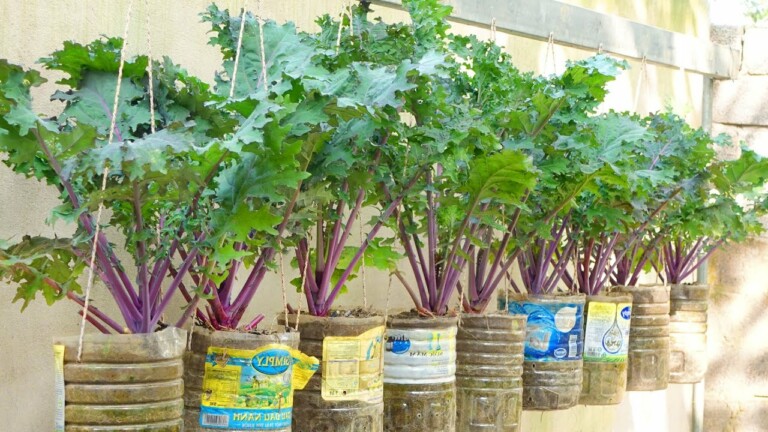
Celery is heat resistant, delicious and can be grown all year round
I’ve always been fascinated by the versatility and resilience of celery. As a heat-resistant vegetable, it never fails to impress me with its ability to thrive even in the most challenging conditions. But what truly captivates me is its delicious flavor, which adds a unique and refreshing taste to various dishes. And the best part? You can grow celery all year round, ensuring a constant supply of this incredible vegetable. Join me as we delve deeper into the world of celery and discover its numerous benefits and secrets!
Introduction:
Celery is a remarkable vegetable that not only adds crunch and flavor to a variety of dishes but also boasts numerous health benefits. What’s more intriguing is that celery is heat-resistant, making it the perfect addition to your all-year-round garden. In this article, I will guide you through the process of growing celery at home, providing valuable tips and insights along the way. So, grab your gardening tools and let’s get started!
Heading 1: Choosing the Right Celery Seeds
Sub-heading 1: Selecting Heat-Resistant Varieties
When it comes to choosing celery seeds that can withstand higher temperatures, it’s crucial to opt for heat-resistant varieties. These strains have been specifically bred to thrive in warmer climates, ensuring a successful harvest regardless of the season. Some popular heat-resistant celery varieties include Tango, Redventure, and Conquistador.
Heading 2: Preparing the Soil
Sub-heading 2: Ideal Soil Composition
To provide your celery with a nutritious and well-drained environment, it’s important to prepare the soil properly. Start by mixing a combination of organic compost and aged manure. This will enrich the soil and provide essential nutrients for optimal growth. Aim for a pH level of 6.0 to 6.8, which is slightly acidic to neutral.
Heading 3: Planting Celery Seeds
Sub-heading 3: Germinating Celery Seeds Indoors
To give your celery seeds a head start, germinate them indoors. Fill a seed tray with seed-starting mix and lightly press the seeds onto the surface. Cover the tray with a plastic wrap to create a greenhouse effect and promote germination. Place the tray in a warm and bright location, ensuring the soil remains consistently moist.
Heading 4: Transplanting Celery Seedlings
Sub-heading 4: Harden Off Seedlings
Before transplanting your celery seedlings outdoors, they need to be gradually exposed to the outdoor conditions. This process, known as hardening off, helps the seedlings adapt to the changes in temperature and sun exposure. Start by placing the seedlings outside for a few hours a day and gradually increase the time over the course of a week.
Heading 5: Caring for Celery Plants
Sub-heading 5: Regular Watering and Mulching
Celery requires consistent moisture to thrive, so be sure to water the plants regularly. However, avoid overwatering, as this can lead to rot and fungal diseases. Applying a layer of organic mulch around the plants will help retain moisture and suppress weed growth.
Sub-heading 6: Fertilizing Celery Plants
To ensure your celery gets an adequate supply of nutrients, fertilize the plants every two weeks with a balanced fertilizer. This will support healthy growth and enhance the flavor of the harvested stalks. Be sure to follow the manufacturer’s instructions for application rates.
Heading 6: Harvesting and Storing Celery
Sub-heading 7: Harvesting Mature Stalks
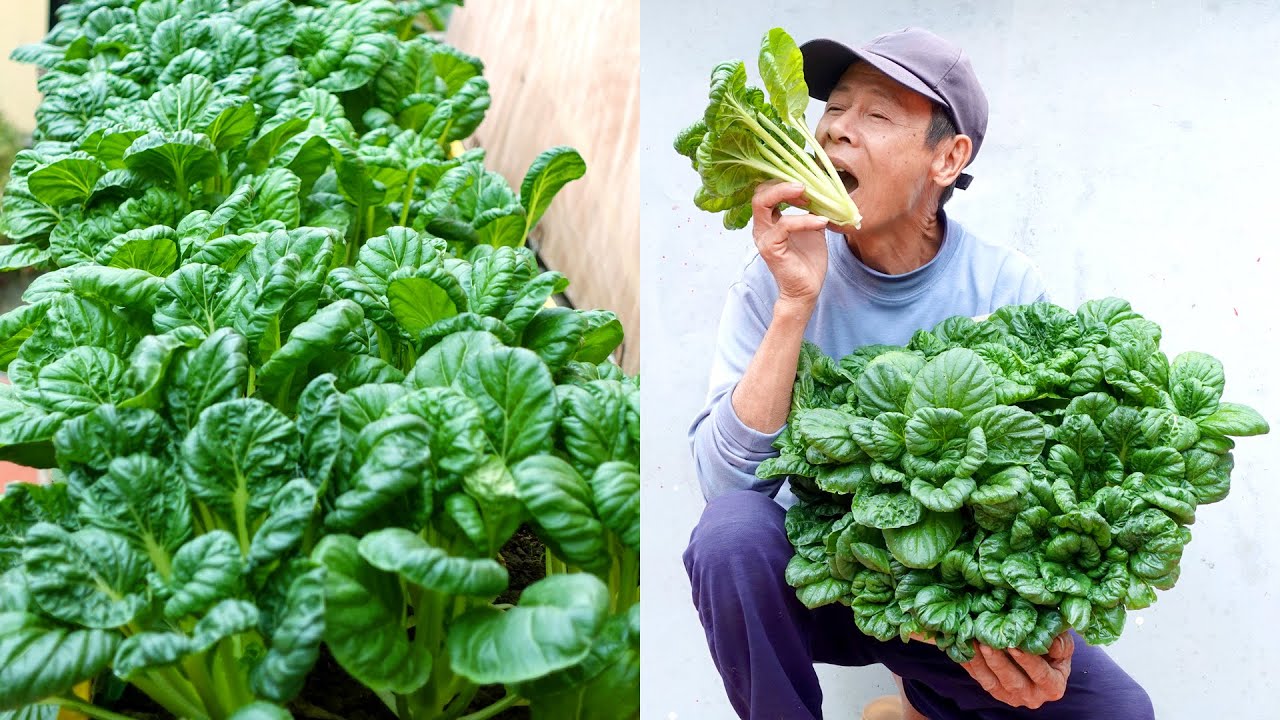
Once your celery plants reach maturity, it’s time to start harvesting the stalks. Begin by cutting the outer stalks at the base, allowing the inner stalks to continue growing. This will ensure a continuous supply of celery throughout the growing season.
Sub-heading 8: Storing Celery for Longevity
To extend the shelf life of harvested celery, store it in the refrigerator. You can also prolong its freshness by wrapping the stalks in a damp paper towel or placing them in a container of water. This will help maintain crispness and prevent wilting.
Conclusion:
Growing your own celery is not only rewarding but also allows you to enjoy a fresh and healthy vegetable all year round. By following these simple tips and techniques, you can successfully cultivate heat-resistant celery in your home garden. So, what are you waiting for? Grab your gardening tools, sow those celery seeds, and embark on a flavorful journey of self-sufficiency. Don’t forget to consult the video tutorial at [link] for a visual guide. Happy gardening!
FAQs:
-
Can I grow celery in hot climates?
Yes, you can! By choosing heat-resistant celery varieties and providing the plants with proper care, you can successfully grow celery in hot climates. -
How often should I water my celery plants?
Celery plants require regular watering, ensuring the soil remains consistently moist. However, avoid overwatering to prevent rot and fungal diseases. -
Can I grow celery from store-bought stalks?
While it is possible to grow celery from store-bought stalks, the success rate may vary. It’s best to start with celery seeds or seedlings for a more reliable outcome. -
How long does it take for celery to mature?
Celery typically takes around 85 to 120 days to reach maturity, depending on the variety and growing conditions. -
Can I grow celery indoors?
Yes, celery can be grown indoors as long as it receives sufficient sunlight and proper care. Consider placing it near a sunny window or using grow lights to ensure optimal growth.