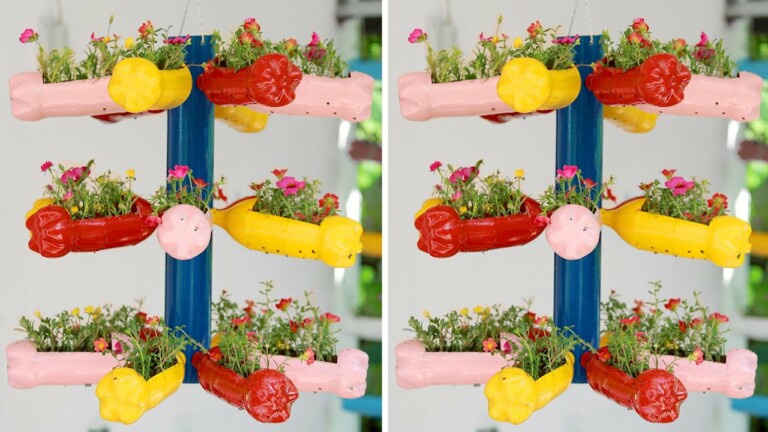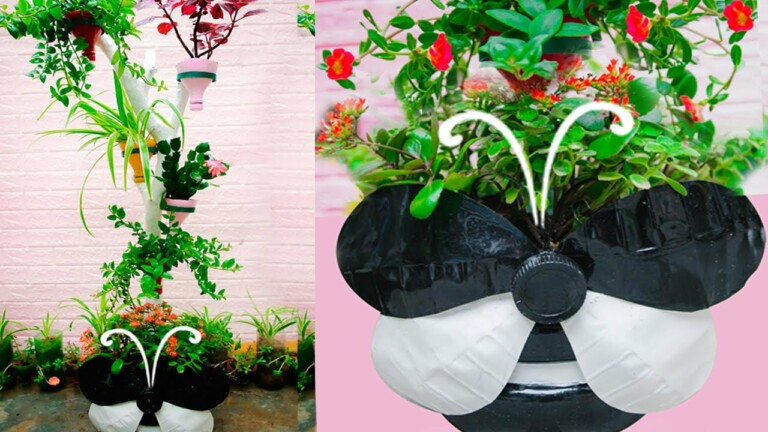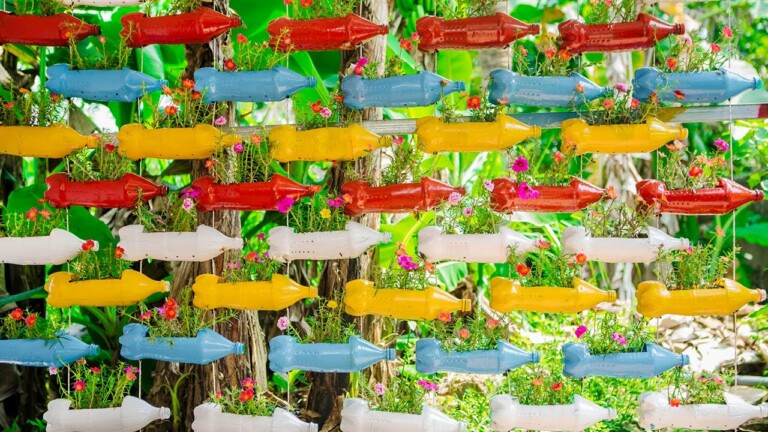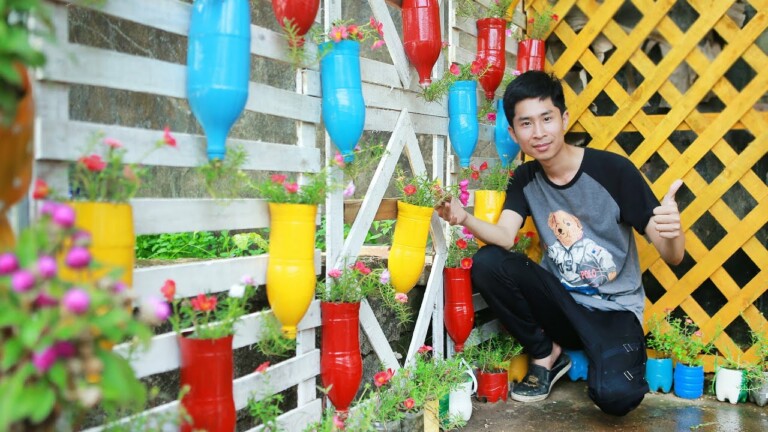
Amazing Ladybug Flower Pots from Plastic Bottles for Your Small Garden
Are you looking to add a touch of charm to your small garden? If so, you’re in for a treat! In this blog post, we’ll explore the fascinating world of amazing ladybug flower pots made from plastic bottles. These unique creations are not only sustainable but also incredibly adorable. Get ready to transform your garden with these DIY projects that are sure to bring a pop of color to your outdoor space. So, grab your plastic bottles and let’s get started on creating your very own ladybug flower pots.
Amazing Ladybug Flower Pots from Plastic Bottles for Your Small Garden
Introduction
Are you looking for creative ways to enhance your small garden and add a touch of uniqueness to your living space? Look no further! In this article, we will show you how to recycle old plastic bottles and transform them into beautiful flower pots in the shape of adorable ladybugs. These DIY ladybug flower pots are not only eco-friendly but also serve as a delightful decoration for your garden. Get ready to bring some charm and color to your outdoor space!
Materials Needed
Before we dive into the step-by-step process, let’s gather the materials you’ll need for this fun and eco-friendly project:
- Old plastic bottles (2-liter or smaller)
- Craft paint (red, black, and white)
- Paintbrushes (various sizes)
- Scissors
- Hot glue gun
- Colorful pom-poms (for eyes)
- Potting soil
- Flower seeds or small plants
Step-by-Step Instructions
Now that you have all your materials ready, follow these simple instructions to create your very own ladybug flower pots:
-
Cutting and Painting the Bottles
- Carefully cut the top part of the plastic bottles, just below the neck.
- Using the red craft paint, cover the bottom part of the bottle (the main body) with a smooth and even layer of paint.
- Allow the paint to dry completely before moving on to the next step.
-
Creating the Ladybug Features
- Using a smaller paintbrush and black craft paint, draw a line down the center of the red-painted bottle to represent the ladybug’s back.
- Paint a semi-circle at the top of the line to create the ladybug’s head.
- Add black spots randomly on the red-painted surface to mimic the ladybug’s distinct pattern.
- With white craft paint, add small dots on the black head to create the ladybug’s eyes.
- Allow the paint to dry before proceeding.
-
Assembling the Ladybug Flower Pot
- Cut out four small rectangular pieces from the remaining part of the bottle to serve as the ladybug’s legs.
- Attach the legs to the bottom part of the ladybug body using a hot glue gun.
- For the final touch, use a hot glue gun to attach colorful pom-poms as eyes on the white dots of the ladybug’s head.
Conclusion
By following these simple steps, you can turn old plastic bottles into charming ladybug flower pots that will bring joy and vibrancy to your small garden. Not only do these DIY ladybug flower pots serve as a sustainable way to repurpose plastic bottles, but they also add a playful and unique element to your outdoor space. So why not roll up your sleeves, gather your materials, and get creative with this fun project? Your garden will thank you!
FAQ
-
Are these ladybug flower pots suitable for indoor use as well?
Absolutely! These ladybug flower pots can be placed both indoors and outdoors, adding a fun touch to any living space. -
Can I use different colors for the ladybug’s body?
Of course! While red is the classic ladybug color, feel free to experiment with different shades and patterns to make your flower pots truly unique. -
Are these ladybug flower pots weather-resistant?
The plastic bottles used in this project provide some level of weather resistance. However, it’s best to bring them indoors during extreme weather conditions to ensure their longevity. -
Can I use real plants instead of flower seeds?
Absolutely! These ladybug flower pots are suitable for both flower seeds and small plants. Just make sure to adjust the potting soil and watering accordingly. -
How do I care for the ladybug flower pots once they are planted?
Treat your ladybug flower pots like any other potted plant. Make sure they receive adequate sunlight, water them regularly, and fertilize when necessary to keep your plants healthy and thriving.
Remember to have fun with this DIY project! Don’t forget to share your creations on social media using the hashtags #diy #garden #diygarden #plasticbottle #homegarden. Connect with T&V Home Garden on Facebook, Twitter, Instagram, Pinterest, and VK for more creative ideas. Happy gardening!